Gimp is a free image editor with similar functionality to Photoshop.
Install
Download here, and install - drag the application to /Applications/.
Then drag to your dock for easy access.
Tips
Resize image
See the full Gimp documentation
Crop image
- Use the rectangle select tool
- hold down shift after you have started selecting to force to a square
- Image > Crop to selection
- Resize if required: Image > Scale image (eg 300x300 pixels)
- Save as new file: File > Export as
See the full Gimp documentation
Darken / lighten image
You can use the levels tool to make an image lighter or darker or to change the contrast.
See this tutorial with nice “before and after” examples of dark & low contrast photos.
Putting it all together
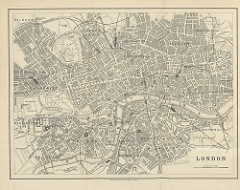
Aim: take a section of this 3223×2558 pixel 19th Century map of London and make a 1000x200 pixel pale background image.


Outline
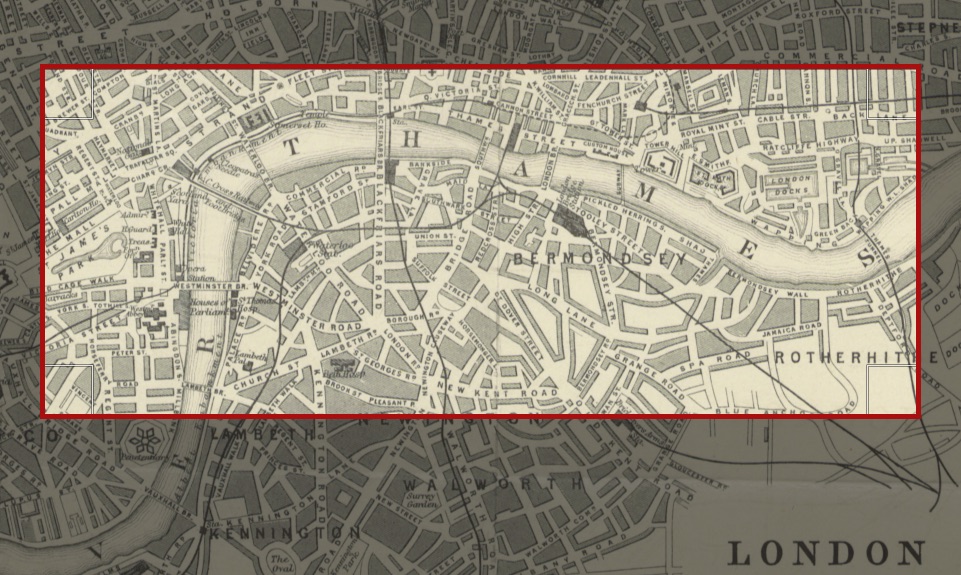
- Select an area of interest using the the rectangle select tool
- it doesnt matter if this is wider than our target 1000 pixels – we will resize later
- make the selection higher than needed – we will crop this later
- Crop: Image > Crop to selection
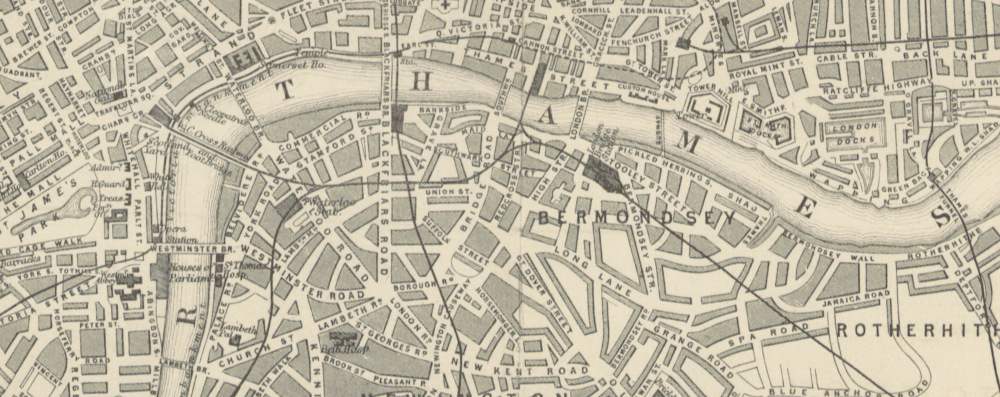
- Resize to target width: Image > Scale image: 1000 pixels
- Adjust to target height: Image > Canvas size: Height = 200 pixels (& change offset Y to move selection down if required)
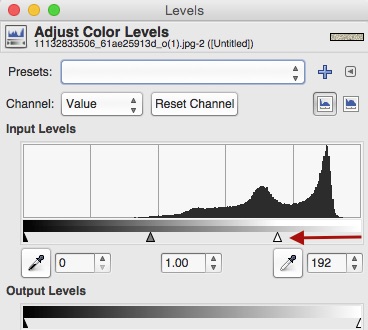
- Lighten: Tools > Colour tools > Levels: change input levels to 192
- Save as new file: File > Export as
Steps
1) Select an area of interest using the the rectangle select tool
- it doesnt matter if this is wider than our target 1000 pixels – we will resize later
- make the selection higher than needed – we will crop this later

2) Crop: Image > Crop to selection
3) Resize to target width: Image > Scale image: width = 1000 pixels

4) Adjust to target height: Image > Canvas size: Height = 200 pixels (& change offset Y to move selection down if required)

5) Lighten: Tools > Colour tools > Levels: change input levels to 192


6) Save as new file: File > Export as

